A simple goal: never lose a photo again
Most photo loss doesn’t happen because you did something “wrong.” It happens when a phone is lost or broken, storage fills up, or a sync setting changes and you don’t notice until months later. The goal is simple: every photo should exist in at least two places you control, with one copy updating automatically so you don’t have to remember.
For most people, that means using iCloud Photos as the everyday, always-on library, then keeping a second copy somewhere else (a Mac/PC, an external drive, or another service). It costs either monthly storage fees, some computer storage, or both—but it buys you the ability to recover memories even when a device doesn’t come back.
Start with a quick audit of your current photo mess
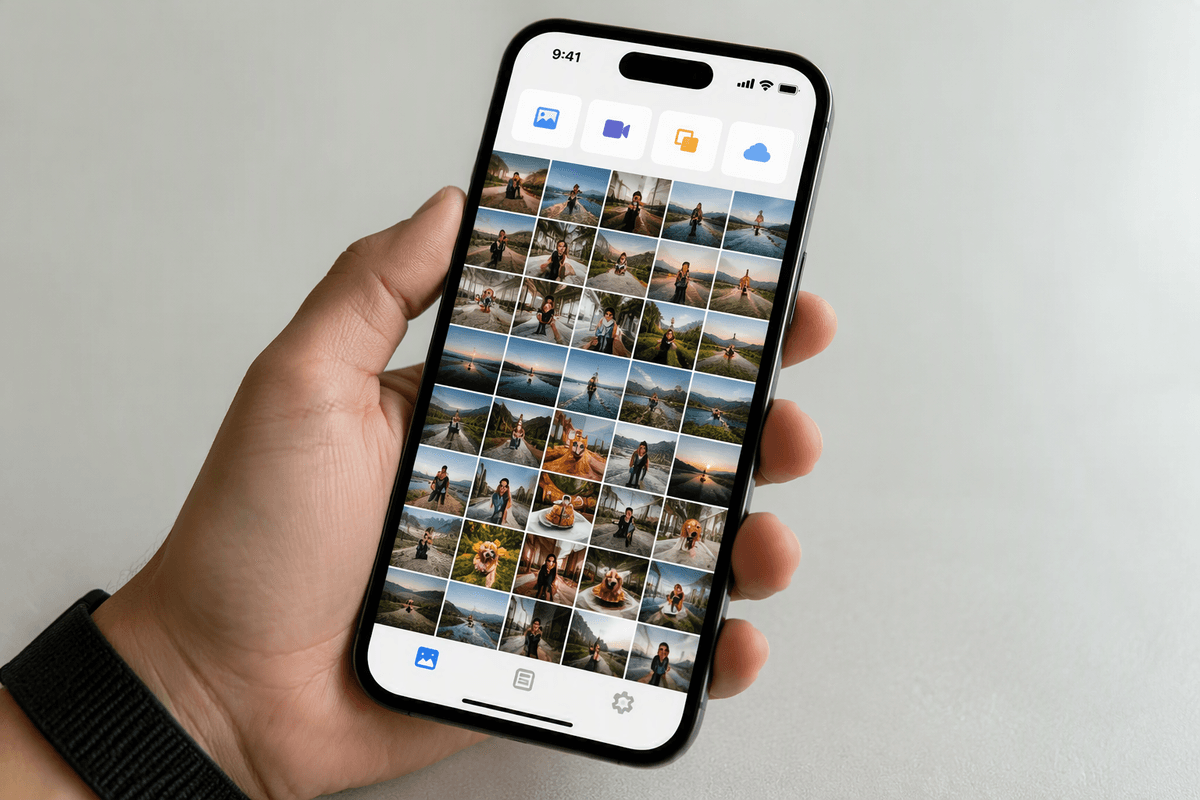
Open Photos and look at the big picture before changing any settings. Check how many items you have (Library > All Photos, then scroll to the bottom), and whether you’re dealing with multiple sources—iPhone shots, shared albums, imports from a camera, screenshots, and saved images from Messages. Then go to Settings > [your name] > iCloud > Photos and confirm whether iCloud Photos is currently on, and whether you’re using “Optimize iPhone Storage” or “Download and Keep Originals.” That one choice affects how much is stored on your device versus in iCloud.
Do a quick risk check: is your iCloud storage nearly full, do you see “Uploading…” stuck for days, or do you have another device signed in with a different Apple ID? Also note obvious clutter buckets (Screenshots, Duplicates, Videos). Don’t start deleting yet—just identify what you’re working with so your backup plan doesn’t accidentally lock in the mess.
Choose your backup strategy: iCloud, computer, or both
Most people end up choosing between convenience and control, but you don’t have to pick only one. iCloud Photos is the easiest “always updating” option: it keeps one library in sync across iPhone, iPad, and Mac, and it’s built to run in the background. The trade-off is a monthly fee once your library grows past the free tier, and it can get stressful if storage is close to full—uploads stall, and you stop trusting what’s actually backed up.
A computer-based copy (Photos on a Mac, or Photos/iTunes on Windows) gives you a local set of originals you can see on a drive you own. It’s great for long-term storage and for people who like having files they can move to an external drive. The trade-off is you have to plug in, import, and manage storage space yourself, and it’s easier to create duplicates if you import the same device multiple times.
The reliable default is both: iCloud Photos as the daily library, plus a periodic export/import of originals to a computer (and ideally an external drive) as your “break glass” copy.
Set up iCloud Photos without surprises or data loss
The biggest surprise with iCloud Photos is that it’s a syncing system, not a “vault.” If you delete a photo on your iPhone, it deletes everywhere (after the Recently Deleted window), so don’t turn it on mid-cleanup. Before you flip the switch, make sure you’re signed into the same Apple ID on every device you want in the library, and confirm you have enough iCloud storage for the full library size—being near the limit is when uploads stall and confusion starts.
On iPhone/iPad, go to Settings > Photos > iCloud Photos and turn it on, then choose your storage mode. “Optimize iPhone Storage” is usually safest for smaller devices, but it means your phone may not hold full-resolution originals. “Download and Keep Originals” requires plenty of free space and can fail halfway if storage is tight. Plug in to power, use Wi‑Fi, leave Photos open occasionally, and watch for “Uploading…” to finish before you assume you’re protected.
Add a second copy: export originals to a Mac or PC
The moment iCloud Photos is stable, make a second copy that doesn’t depend on sync. On a Mac, open Photos and confirm it’s using the same Apple ID (Photos > Settings > iCloud). Then pick a simple routine: once a month, select All Photos and export originals to a dated folder (File > Export > Export Unmodified Original). Store that folder on your Mac, and if you have an external drive, copy the same folder there too. The point isn’t to “replace” Photos—it’s to have a readable set of files you can recover even if your library gets messy.
On Windows, use the Apple Devices app (or iTunes on older setups) to import photos from your iPhone, or open iCloud for Windows and download your iCloud Photos to a local folder. Whatever method you use, keep one rule to avoid duplicates: export/import into a new dated folder each time, and don’t mix runs together. This does take disk space (especially videos), so plan for it before your drive fills up mid-export.
Organize in Photos: albums, search, and a light workflow
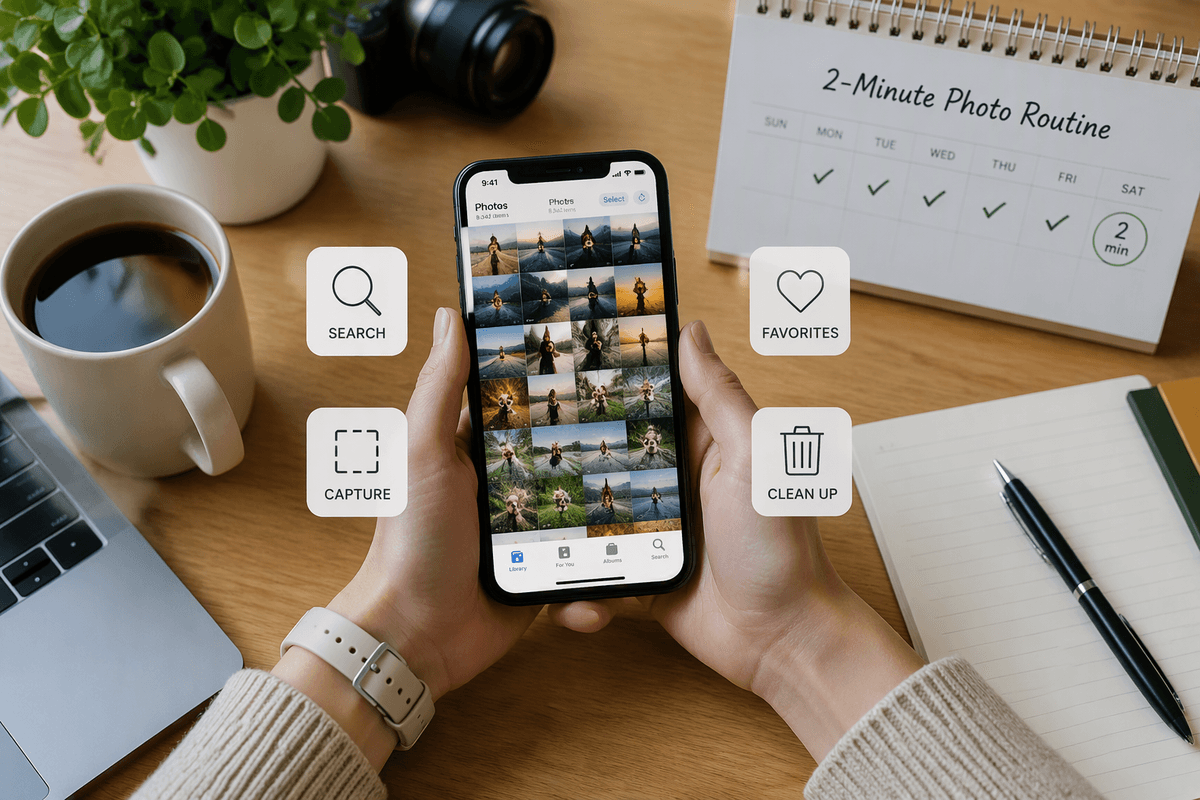
You don’t need a perfect filing system to get value out of Photos—you need a few reliable “buckets” and a way to find things later. Use albums for projects you’ll revisit (Trips, Kids 2026, Home receipts) and keep them broad; too many tiny albums becomes another kind of clutter. If you want structure, use folders to group albums (Travel, Family, Work), but avoid duplicating effort by trying to mirror dates or events exactly—Photos already handles chronology in the Library.
Lean on search more than you think: it’s often faster to type “beach,” “passport,” “birthday,” or a person’s name than to remember which album you used. A light workflow that sticks is simple: tap the heart for “must keep,” screenshot important info instead of saving random images from the web, and once a week spend two minutes in Recents deleting obvious junk. The practical limitation is time—set a small cadence you’ll actually do, because a one-time “organize everything” session usually doesn’t happen.
Keep it healthy: duplicates, cleanup, and recovery checks
You’ll notice clutter doesn’t come from “too many photos” as much as repeated captures and repeated saves: bursts, Live Photos you never use, the same meme saved three times, and near-identical shots from vacation. Use the built-in Duplicates tool (Albums > Utilities > Duplicates) and merge when it’s obvious. Then do one quick pass through your biggest junk buckets—Screenshots, Screen Recordings, and Videos—because videos and 4K clips eat storage fast. The practical constraint is that cleanup creates anxiety: if you’re not sure, favorite the best one and leave the rest for later instead of spiraling into decision fatigue.
Keep trust in your backups by doing a small recovery check once in a while. Confirm iCloud Photos shows “Updated Just Now” (or at least recent) and that iCloud storage isn’t pinned at 99%. Then open your latest exported folder on your Mac/PC and actually preview a few files, including a recent video. A backup you’ve never tested is just a hope.
A practical checklist to make backups and organization stick
You don’t need a new system—just a repeatable checklist. Once, confirm iCloud Photos is on, you’re on one Apple ID, and iCloud storage has headroom. Weekly: delete obvious junk in Recents, clear Screenshots, and merge Duplicates if it’s quick. Monthly: plug in on Wi‑Fi overnight and confirm Photos finishes uploading, then export unmodified originals to a new dated folder on your Mac/PC and copy that folder to an external drive if you have one. Quarterly: open a few files from the export (including a video) to prove you can recover them. If you can’t keep the cadence, simplify it.