Why one-handed use feels harder than it should
You know the moment: you’re holding a coffee, a bag, or a kid’s hand, and your phone suddenly feels like it grew an inch. The controls you need most—back, notifications, search, the “done” button—often sit at the very top or corners, exactly where your thumb has the least strength and accuracy. So you shift your grip, your palm brushes the screen, and you either hit the wrong thing or feel the phone start to slide.
This isn’t just “big phones.” Modern apps cram more actions into small targets, and gesture navigation asks for precise edge swipes while you’re already stretching. Add a case that’s a little slick, a screen protector with extra drag, or a heavier device, and the cost is real: more strain in your thumb joint, more near-drops, and more time spent doing tiny corrective moves instead of getting something done.
Pick your “thumb zone” and accept real reach limits
Start by noticing where your thumb naturally lands when you hold the phone the way you actually use it—walking, standing on a train, or with a bag in the same hand. That comfortable arc is your “thumb zone.” Anything outside it is a risk: you’ll either stretch and lose grip, or you’ll compensate by sliding the phone in your palm and inviting accidental taps. A quick test is to open a busy app and try reaching the top-left, top-right, and the far bottom corner without shifting your hand. If you have to “climb” the phone, that area isn’t one-handed for you.
Accepting that limit is practical, not defeatist. It lets you make smarter choices: keep frequent actions in the lower half, use bottom navigation when an app offers it, and stop forcing the top edge when you’re moving. The trade-off is you may need two hands sometimes, especially on larger screens, but you’ll drop the phone less and your thumb will feel better at the end of the day.
Turn on the built-in one-handed modes (iPhone and Android)
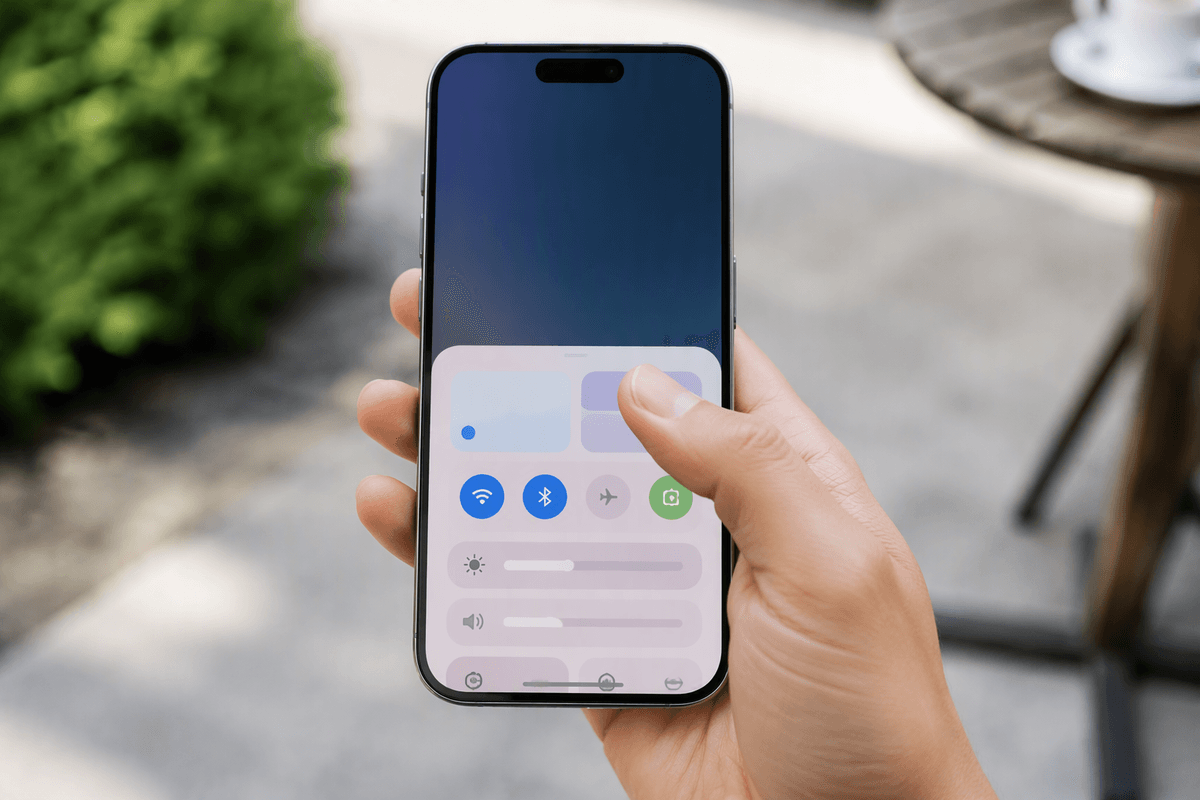
The fastest win is lowering the whole interface instead of training your thumb to reach higher. On iPhone, turn on Reachability: Settings > Accessibility > Touch > Reachability. Then, when you need the top of the screen, swipe down on the bottom edge (or on the Home indicator) and everything drops into your thumb zone. If you use an iPhone with Face ID, also consider Back Tap (Settings > Accessibility > Touch > Back Tap) to trigger Reachability or a shortcut without shifting your grip.
On Android, look for One-handed mode in Settings (often under System, Display, or Accessibility). It typically shrinks the screen toward one corner or drops the UI downward, and you can set a gesture to activate it quickly. If you use 3-button navigation, enabling a visible Back button can be easier than a precise edge-swipe while walking. The limitation is real: one-handed modes add an extra step, and some apps still pin key controls to the top, but the reduced stretch cuts near-drops and thumb strain immediately.
Use gestures that replace top-bar taps and tiny targets
When you’re moving, the hardest taps are the ones that demand accuracy at the top: notifications, “X” buttons, and tiny menus. Gestures let you trade precision for a simple motion. On iPhone, get comfortable with a short swipe down from the top-right for Control Center and from the top-left (or middle top) for notifications; if that’s still a stretch, use Reachability first, then swipe from the now-lower top edge. On Android, a big one-handed win is setting “Swipe down on home screen” to pull notifications, so you’re not reaching for the status bar every time.
Inside apps, favor predictable swipes: swipe sideways to go back (or use the bottom Back button), swipe down to dismiss cards, and long-press instead of hunting for a three-dot menu. The practical downside is gestures can conflict between apps and can trigger by accident in a crowded commute, so slow them down in settings (gesture sensitivity) until they feel deliberate rather than twitchy.
Make typing and text editing doable with one thumb
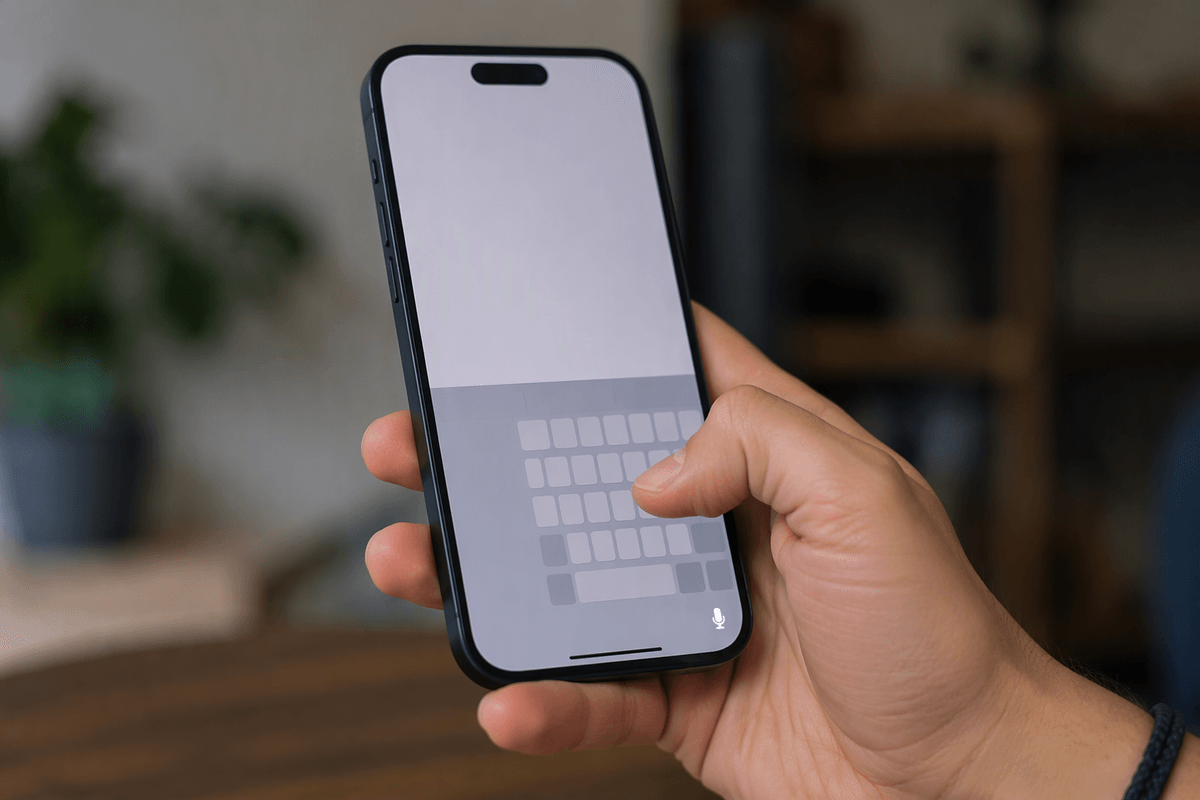
You feel it most when you’re replying quickly: the keyboard is low, but your thumb still has to travel too far, and the cursor jumps when you try to fix one word. Start by making the keyboard meet your hand. On iPhone, press and hold the globe/emoji key and choose one-handed keyboard (left or right). On Android (Gboard), long-press the comma or tap the four-square icon and pick One-handed; also consider enabling a taller keyboard so keys are easier to hit without stretching.
Text editing is where one-handed use usually falls apart, so use the shortcuts that reduce “tiny tap” work. On iPhone, long-press Space to turn the keyboard into a trackpad for moving the cursor. On Gboard, enable the cursor control option (often under Settings > Glide typing) so you can slide on Space to move the caret. The trade-off: one-handed keyboards shrink keys and can slow you down at first, so expect a few days of extra typos while muscle memory catches up.
Tame apps that fight your thumb with layout tweaks
Some apps stay stubborn: search lives at the top, the “done” button hides in a corner, and the back action is a tiny arrow you can’t reach without loosening your grip. When an app offers a bottom bar option, take it. Many apps let you switch “tabs” to the bottom, enable a bottom search button, or change the toolbar layout in their own settings. If the app has a “compact” or “classic” layout, try it—less wasted space often means fewer stretch targets.
When an app won’t cooperate, use system-level workarounds. Increase text size just enough that buttons become easier targets, but not so much that the app pushes actions even higher. If you rely on back gestures, consider reducing edge-swipe sensitivity so you don’t trigger back while scrolling with your thumb. The real constraint is time: these tweaks are app-by-app, and some redesigns reset your preferences after updates, so expect occasional re-tuning.
Small habits and accessories that prevent drops and strain
The last bit is grip and rhythm. When you’re walking, stop “climbing” the phone with your fingers; bring content to you with Reachability/one-handed mode, then return to a neutral hold. Use a light pinch between thumb and fingers instead of a palm-balanced grip, and pause your thumb before big swipes so you don’t jerk the phone sideways. If your hand feels tight, switch hands for a minute—fatigue makes drops more likely.
Accessories help, but they’re trade-offs. A grippy case and a matte screen protector reduce slip, but extra thickness can hurt reach. A thin finger loop or ring can add security when carrying bags, though it can snag in pockets. If drops are common, a simple wrist lanyard is the lowest-effort safety net.